
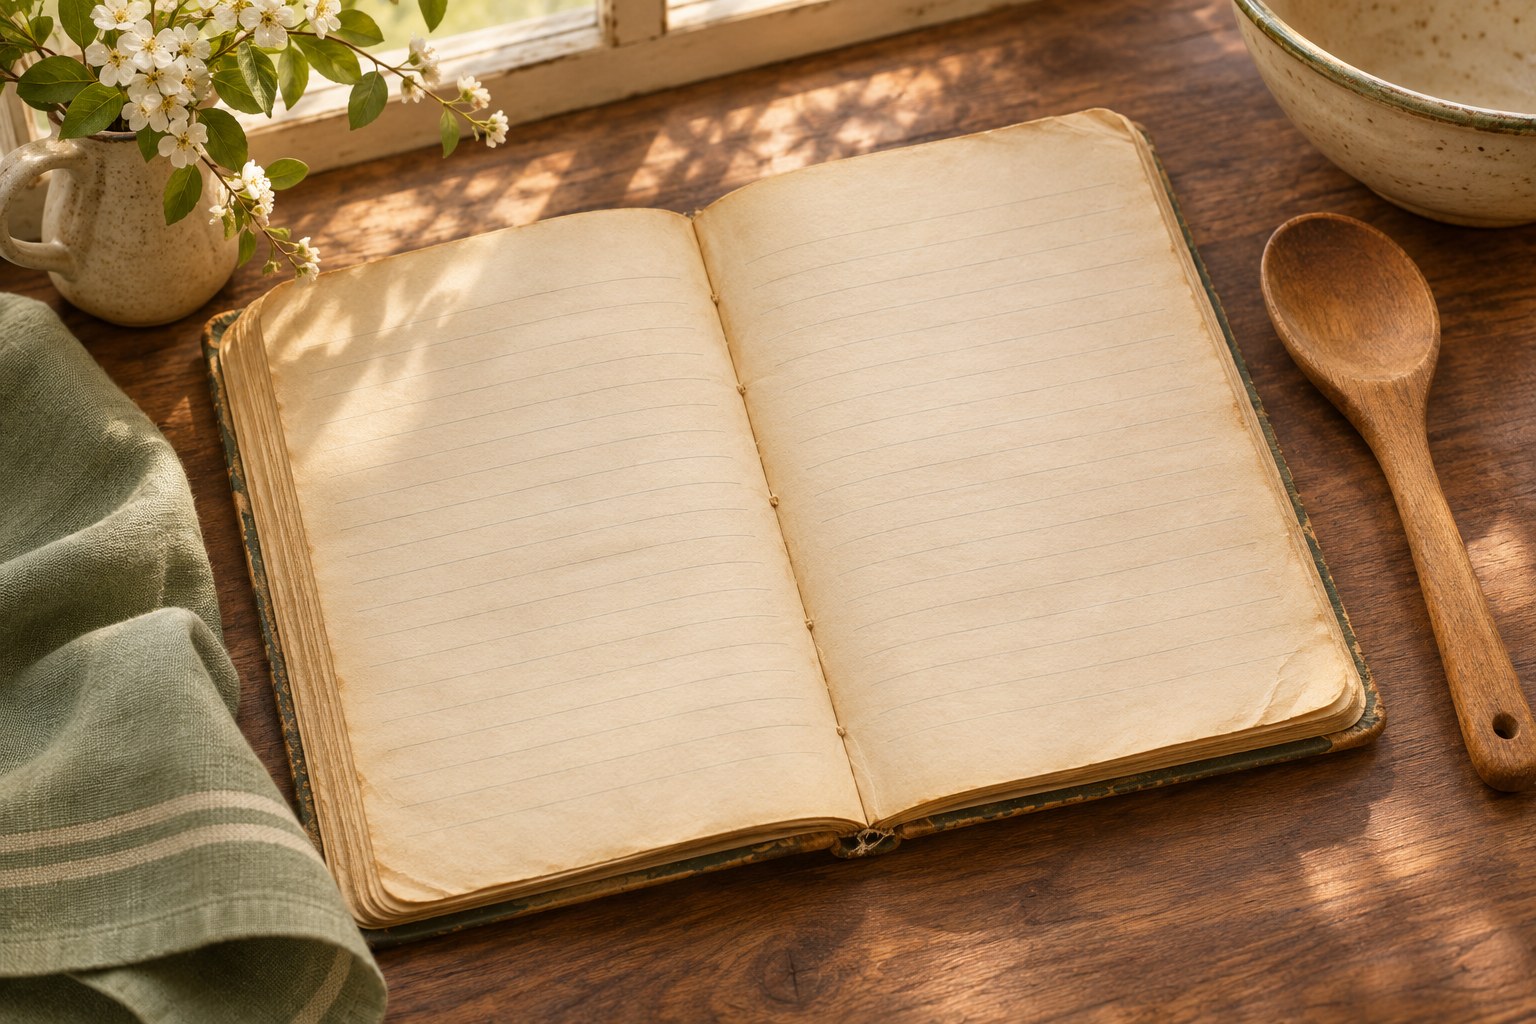
The photograph in the family chat is clear enough to recognize the recipe page, but a faint line becomes nearly invisible on a phone. Enlarging it crops off the ingredient next to the quantity. The useful fix is a verified transcription that someone can pause and read while cooking. A short kitchen opening can make the video feel personal without carrying any recipe information.
This workflow uses your own recipe as the source. The templates below contain placeholders, not ingredients or amounts to cook with.
Transcribe the source before you make a video
Keep the original photograph and make a separate working copy of the text. Read each line against the page, keeping the ingredient, amount and unit together. Preserve the order of the steps and check whether a note in the margin belongs to a particular step.
Flag anything you cannot read with a clear note such as [confirm amount and unit]. Send that line, with a close crop of the handwriting if appropriate, to the person who knows the recipe. Ask about the exact uncertainty rather than whether the recipe generally looks right. If the writer used a household measure or shorthand, ask what they meant; do not silently convert it into a different unit.
Keep a short record of the answers in your working copy. If an essential detail remains unresolved, share the document as an incomplete transcription or hold it back until you can verify it. An attractive video cannot make an uncertain instruction reliable.
Plan cards someone can pause on a phone
Start with the dish name, then show ingredients and numbered steps. Split a long list into groups rather than shrinking the type. Put each ingredient's amount and unit on the same line as its name where space permits. Break a crowded step into two cards if the source really contains two actions.
Copy this skeleton into your own notes:
Title: [verified dish name]
Ingredients, part [number]:
[Ingredient] - [confirmed amount and unit]
[Ingredient] - [confirmed amount and unit]Step [number]: [confirmed action in the correct order]
[Confirmed time, temperature or completion cue, if applicable]
Only carry a detail into the final cards when the source or the recipe owner supports it. Replace or remove every placeholder before sharing a cookable version. Keep the full verified transcript as plain text too: it is easier to search, copy or correct than a video.
Use a plain background and strong contrast. Leave room around the text and give the viewer enough time to read the longest line. Card duration is a choice you make in the editor, not something the generator needs to infer from the recipe.
Make the kitchen opening optional
UGC Maker AI is one option for making the kitchen opening described here. Its dedicated page describes free access with no signup required and says it is powered by MiniMax H3. The separate MiniMax H3 page from the same provider uses the label "unlimited." These are descriptions of the dedicated tool, not measured claims about queues, retry success or access to every paid model.
Use a prompt that contains no personal information or recipe text. Here is one complete example:
A quiet kitchen in soft morning window light. Fixed vertical view of a warm wooden counter, a plain ceramic bowl, a wooden spoon and a folded sage-green cloth. A light curtain at the edge of the frame shifts gently while the objects remain still. Keep the scene simple and calm, with no camera move or new objects. No people, hands, readable writing, ingredient labels, recipe cards, logos or watermarks. The scene is a short decorative opening, not a cooking demonstration.
On the dedicated free page, paste the text and leave Start Frame and End Frame empty. Choose 9:16 for this portrait version, then select Generate. If a clip is produced, preview the whole result and use Download only if it suits the opening. The example is for text prompts, so your family photograph stays out of the generator. No generation was performed for this guide.
Keep the opening brief. If it contains stray writing, distracting audio or an unexpected object, skip it or try again. The dish name and all instructions can work with the text cards alone.
Assemble the cards in a separate editor
Set up a portrait project in your editor before placing the clips. Put the optional opening first, then add the dish name, ingredient cards and numbered steps in that order. Type the verified wording yourself. In a desktop editor such as Shotcut, the official text and export FAQ describes opening a text clip with File → Open Other → Text, selecting a solid background, and using text filters such as Text: Simple.
Add the text clips to the timeline, set their lengths and check that no card flashes by during a transition. If the opening's audio interferes, mute it; the instructions should be understandable without sound. Keep the editable project, then export a separate video from Timeline, rather than exporting only the source clip. This is a documented editing route, not an installed-app or export test.
Check the file on the phone where it will be read
Open the exported video on a phone at normal size. Pause on every card. Can you read the unit next to the amount without zooming? Does the first line start too close to a player control? Can you match each step number to the transcript? If a card needs pinching or repeated rewinding, split it or let it stay longer, then check the new export.
Finally, compare the exported numbers and words against the verified text, not just against your memory. Send the video with the plain-text recipe so relatives have a usable version even if the chat player compresses the picture. Include the original photo as a separate reference when you have permission and there is no private information you need to keep out of the chat.